
How to Protect Your Rental Deposit in Thailand
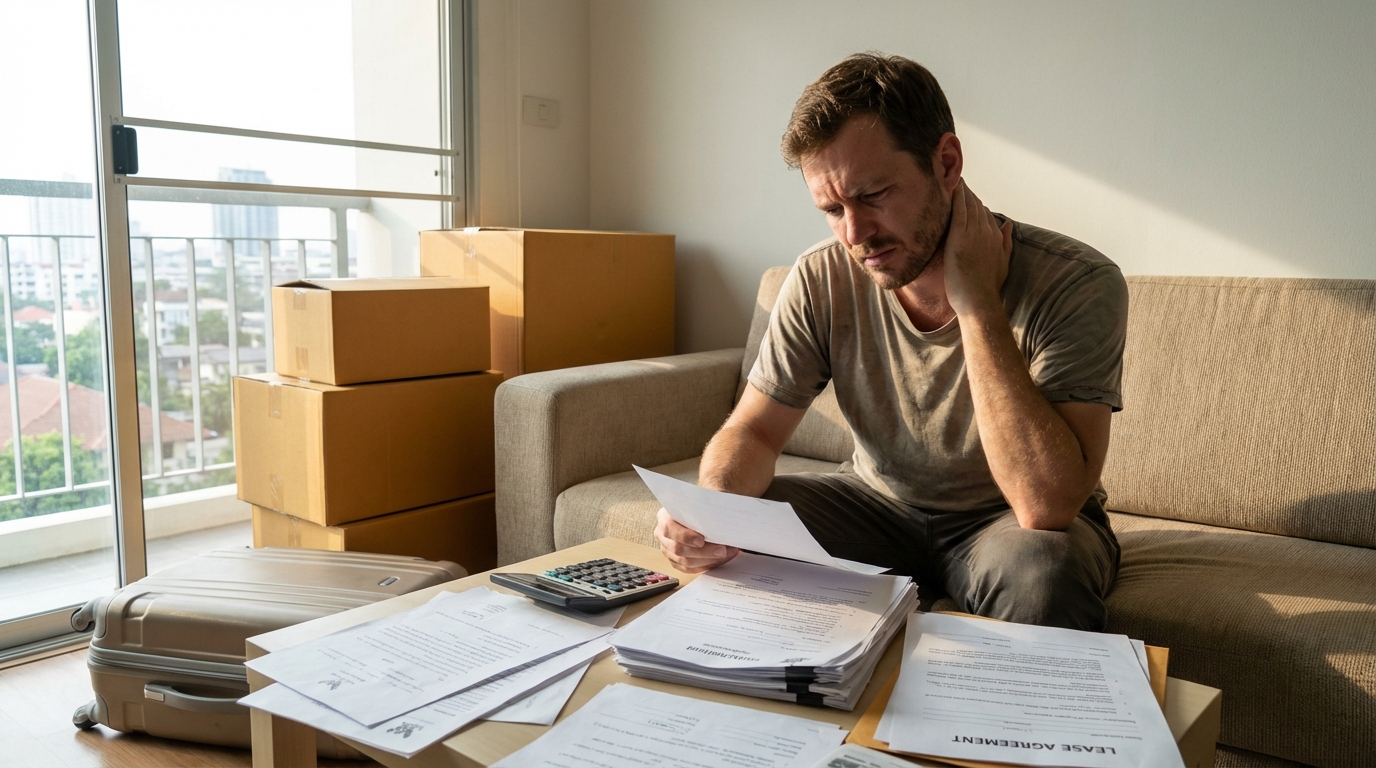
You handed over two months’ rent before you moved in. That’s standard in Bangkok. What’s not standard (at least not by Western expectations) is what happens to that money while you’re living there, and what it takes to get it back when you leave.
If you’ve rented in the UK, Australia, or parts of Europe, you’re used to deposit protection schemes. Your money sits in a regulated third-party account. Disputes go to an independent adjudicator. The process, while sometimes frustrating, has guardrails.
Thailand has no such system.
Your deposit sits in your landlord’s bank account from day one. When you move out, you’re negotiating directly with the person who already has your money. This isn’t a scam. It’s a regulatory gap. Understanding that gap, and documenting your way through it, is the single most important thing you can do to protect yourself.
This guide covers everything I wish I’d known before I lost ฿45,000 to “pre-existing damage” that wasn’t pre-existing at all.
Why Deposit Protection Matters More in Thailand
The Regulatory Gap You Need to Understand
In most Western rental markets, deposits flow like this: tenant pays deposit, deposit goes to protected account, independent scheme holds funds, disputes go to adjudicator, funds released based on evidence.
In Thailand: tenant pays deposit, landlord keeps deposit, move-out inspection happens, landlord decides deductions, you negotiate (or don’t).
This isn’t unique to Thailand. Many countries lack deposit protection. But it catches foreigners off guard because we assume our home-country protections exist everywhere. They don’t.
What This Means Practically
- Your landlord has no legal obligation to put your deposit in a separate account
- There’s no independent body to appeal to if you disagree with deductions
- Documentation becomes your only advantage
- The burden of proof effectively falls on you
Security deposit disputes are the single largest source of rental conflicts in Thailand. Not because Thai landlords are dishonest (most aren’t) but because the system creates information asymmetry that disadvantages whoever has less documentation.
Usually, that’s the tenant.
How the Thai Deposit System Works
Standard Deposit Amounts
Most Bangkok rentals require:
- Security deposit: 2 months’ rent (sometimes 1 month for shorter stays)
- Advance rent: 1 month (first month paid upfront)
For a ฿35,000/month condo in Sukhumvit, you’re handing over ฿105,000 before you’ve slept a single night in the unit. Premium units at ฿50,000-80,000/month mean deposits over ฿150,000.
What Deposits Legally Cover
Deposits cover:
- Damage beyond normal wear and tear
- Unpaid rent or utility bills
- Cleaning costs if the unit is left significantly dirty
- Replacement of missing items (keys, remotes, furniture)
They’re not supposed to cover:
- Normal wear and tear (faded paint, minor scuffs, worn carpet)
- Pre-existing damage
- General maintenance (fixing things that were already broken)
The problem? “Normal wear and tear” is interpreted differently by different landlords, and pre-existing damage can only be disputed if you documented it at move-in.
The Five Most Common Reasons Expats Lose Deposits
1. Pre-Existing Damage Attributed to You
That scratch on the kitchen counter? The stain on the bedroom carpet? The chip in the bathroom tile? If you didn’t photograph it at move-in, it becomes your scratch, your stain, your chip at move-out.
This isn’t malicious. Landlords genuinely forget what condition units were in, especially if they manage multiple properties or use agencies.
2. “Normal Wear and Tear” Disputes
Thai and Western interpretations of normal wear often differ. A scuff mark you’d consider inevitable after 12 months might be presented as “damage requiring professional cleaning.” Wall marks from hanging pictures might trigger repainting costs.
3. Cleaning and Restoration Fees
Even if you leave the unit spotless, some landlords charge for “professional cleaning” or “restoration to original condition.” Without move-in documentation showing the actual original condition, you have no way to dispute whether your cleaning was adequate.
4. Appliance and Fixture Issues
AC units, water heaters, and kitchen appliances develop problems over time, sometimes from normal use, sometimes from pre-existing issues that finally manifest. Without records showing you reported problems during your tenancy (and how building management responded), these can become your responsibility.
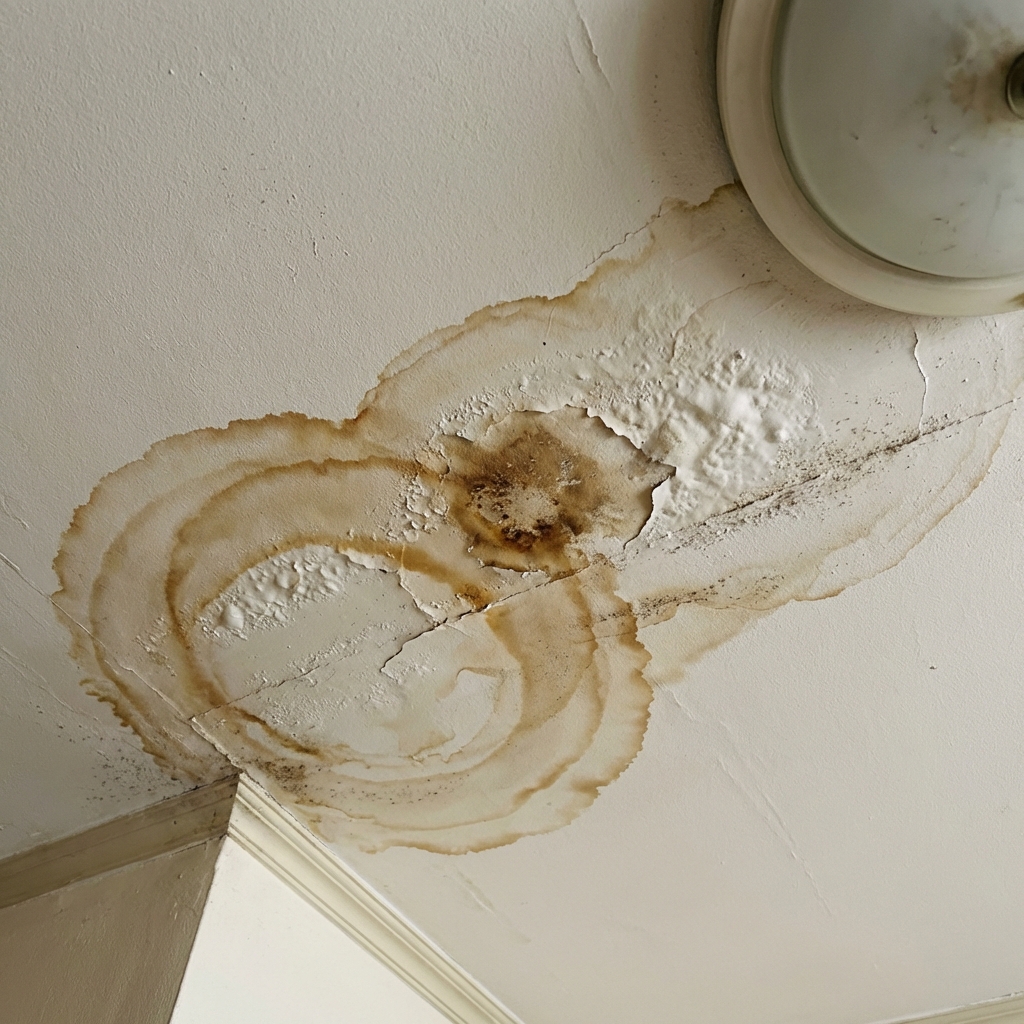
5. Undocumented Maintenance Requests
You told building management about the leak three times. They never fixed it. The leak caused water damage. Now it’s deducted from your deposit.
This happens constantly. Verbal requests don’t exist unless you have written records.
Move-In Documentation: Your First Line of Defense
The best time to protect your deposit is before you unpack a single box. Here’s the systematic approach.
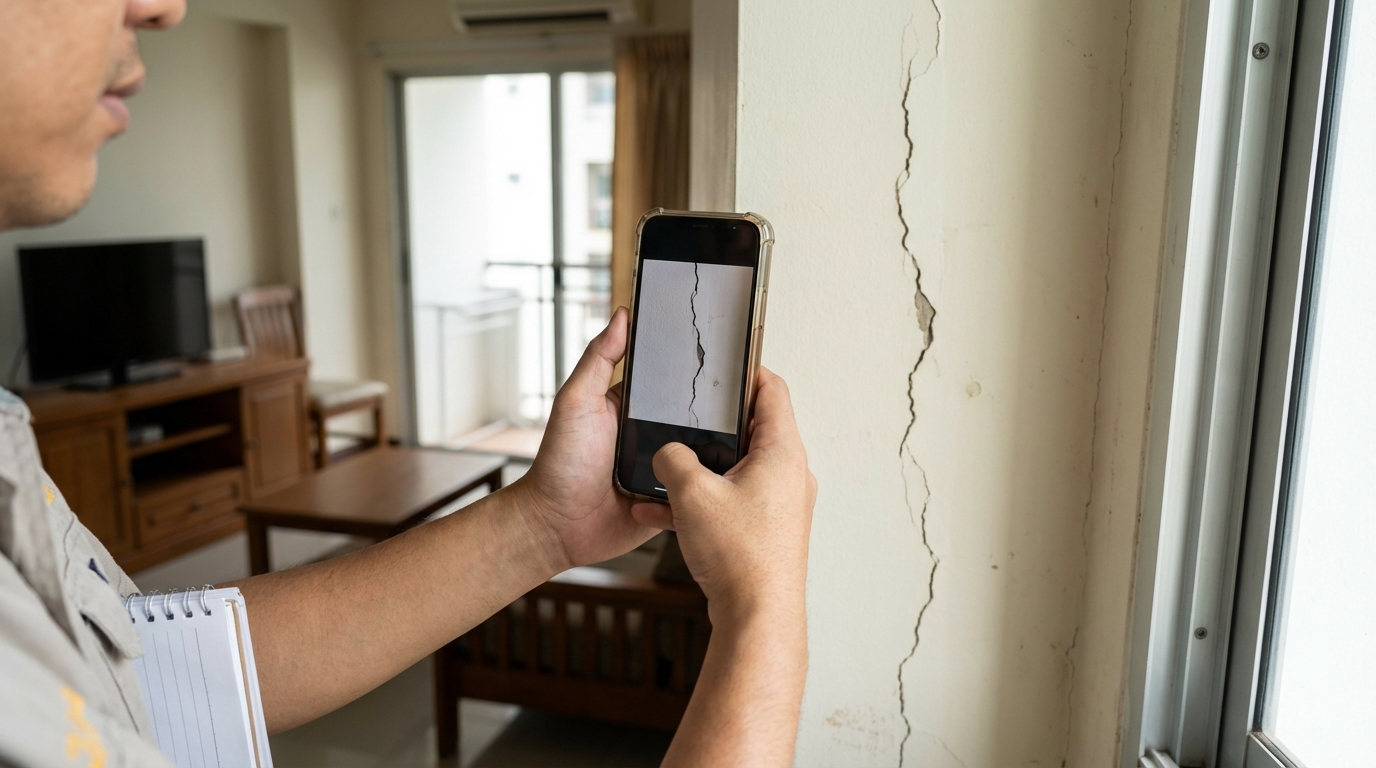
The Photo Protocol
Take photos of:
- Every room from multiple angles (wide shots from corners)
- All walls, floors, and ceilings (look for stains, cracks, discoloration)
- Every appliance (open refrigerator, check inside oven, photograph AC filters)
- All fixtures (taps, showerheads, door handles, light switches)
- Windows and doors (check for scratches, gaps, damage)
- Furniture (every piece, including underneath and behind)
- Any existing damage, no matter how minor
Photo technique tips:
- Use natural lighting when possible
- Take close-ups of any defects with a reference object (coin, pen) for scale
- Photograph serial numbers on appliances
- Capture both wide establishing shots and detailed close-ups
- Include timestamps (most phones do this automatically in metadata)
The Video Walkthrough
Photos capture details; video captures context. Do a complete walkthrough recording:
- Test every appliance while filming (AC turns on, refrigerator runs, water heater works)
- Open every drawer, cabinet, and closet
- Run water in all taps (check pressure and drainage)
- Flush toilets
- Test all light switches
- Check window locks and door mechanisms
Narrate as you go: “Bathroom sink, good water pressure, drains normally. Note: small chip on left side of basin, already present at move-in.”
Timestamp Your Evidence
Your documentation needs to prove when it was taken. Methods:
- Email photos and videos to yourself immediately (creates server timestamp)
- Upload to cloud storage with automatic dating (Google Photos, iCloud)
- Include a dated newspaper or your phone displaying date/time in key shots
- Send key photos to your landlord/agent via LINE or WhatsApp (creates shared record)
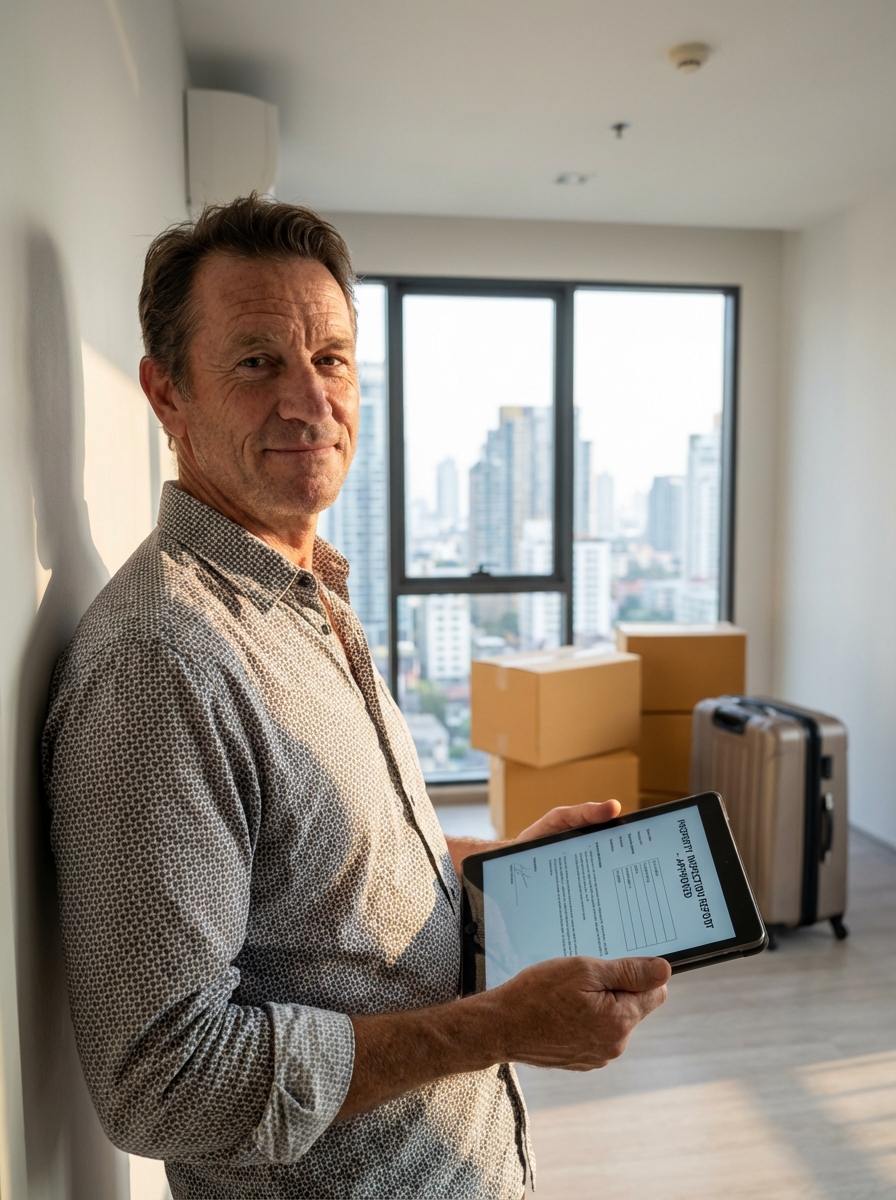
The Condition Report
Since September 2025, Thailand’s rental regulations require landlords with 3+ residential units to provide a jointly-signed condition report at move-in. The requirement only applies to larger landlords, and enforcement is still patchy.
Regardless of legal requirements, you want a written condition report that:
- Lists every room and its condition
- Notes all existing damage, defects, or wear
- Is signed by both you and the landlord (or their representative)
- Includes the date
- Ideally has photos attached or referenced
If your landlord doesn’t provide one, create your own and ask them to review and sign it. Many will agree. It protects them too.
Documentation During Your Tenancy
Move-in documentation protects against pre-existing damage claims. Ongoing documentation protects against everything else.
Keep Maintenance Records
Every time you report an issue to building management or your landlord:
- Send the request in writing (LINE, WhatsApp, email, not phone calls)
- Include photos or videos of the problem
- Note the date and who you contacted
- Follow up in writing if no response within reasonable time
- Document when and how issues are resolved
Example message: “Hi, reporting that the AC in the master bedroom is leaking water. See attached photos. Please arrange inspection/repair. Thank you.”
When they respond (or don’t), you have a record.
Document Incidents
If something breaks, gets damaged, or malfunctions:
- Photograph immediately
- Report in writing immediately
- Note whether it was due to normal use, wear, or external factors
The difference between “the AC stopped working” and “the AC stopped working due to a power surge that also affected other units” matters at move-out.
Track Building Management Responsiveness
If management is slow to respond or fails to address issues, this pattern becomes relevant during deposit negotiations. A record showing you reported a leak five times over three months, with no action taken, is powerful evidence that resulting damage isn’t your responsibility.
Move-Out Best Practices
Give Proper Notice
Check your lease for notice requirements (typically 30-60 days). Provide notice in writing. Disputes escalate when landlords feel blindsided.
The Move-Out Inspection
Request a joint inspection with your landlord or their representative present. During this inspection:
- Walk through together comparing current condition to your move-in documentation
- Photograph everything again (same angles as move-in photos for direct comparison)
- Note any disputed items in writing
- Don’t sign anything you disagree with
Before the Inspection
- Clean thoroughly (or hire professional cleaning, and keep the receipt)
- Return all keys, remotes, and parking cards
- Ensure all utilities are paid up to date
- Repair minor damage you’re responsible for (often cheaper than landlord’s contractors)
Get Deductions in Writing
If the landlord proposes deductions, request:
- Itemized list of each deduction
- Photos of damage they claim you caused
- Quotes or invoices for repair costs
You have the right to understand what you’re being charged for and to dispute charges you believe are unfair.
Negotiation Tactics When Disputes Arise
Start from Documentation
Your advantage comes from evidence. When disputing a deduction:
“I have move-in photos from [date] showing this damage already existed. I’ve attached comparisons. This shouldn’t be deducted from my deposit.”
“I reported this issue to building management on [dates] via LINE. See attached messages. The damage occurred because the repair wasn’t completed, not due to my use.”
Stay Professional
Disputes escalate when emotions do. Keep communications factual, polite but firm, and in writing. Focus on evidence, not accusations.
Know Your Walk-Away Point
Some battles aren’t worth fighting. If the disputed amount is ฿5,000 and resolving it will take weeks of back-and-forth, you might decide your time is worth more. But make that decision consciously, not because you feel powerless.
Escalation Options
If you can’t resolve disputes directly, the Office of the Consumer Protection Board (OCPB) handles rental complaints for properties under their jurisdiction. The Thai Consumer Protection Association can provide guidance. Many Thai lawyers offer initial consultations at reasonable rates, and small claims court exists for disputes under certain thresholds.
Most disputes don’t reach these stages. Documentation usually creates enough advantage for reasonable settlements.
When Professional Documentation Helps
Self-documentation works for most situations. Third-party inspection documentation provides additional value when:
High-value units: When your deposit is ฿100,000+, professional documentation costs US$499 / THB 15,900 for condos up to 120 sqm. It is often easier to justify than the dispute it can prevent.
Complex properties: Larger units with multiple AC systems, water heaters, and appliances have more potential failure points. Professional inspectors know where problems hide.
Language barriers: If you don’t speak Thai and your landlord doesn’t speak English, having documentation prepared by bilingual professionals reduces miscommunication risk.
Red flags at viewing: If you noticed issues during your viewing but signed anyway, professional documentation ensures nothing is missed and creates a clear baseline.
Corporate relocations: If your company is covering housing, professional documentation protects everyone and demonstrates due diligence.
Real Examples of What Goes Wrong
The AC Condensate Drain: A DTV worker in Thonglor didn’t notice the AC condensate drain was improperly connected (a common issue in Bangkok condos). Over six months, water damage accumulated in the wall. At move-out, the landlord claimed ฿28,000 for repairs. Without move-in documentation showing the drain’s original condition, there was no way to prove it was a pre-existing installation problem.
The “Professional Cleaning” Fee: An expat in Silom left their unit spotless. They’d even hired cleaners. The landlord still deducted ฿8,000 for “professional cleaning to original standard.” Without before/after photos of what “original standard” actually looked like, the deduction stood.
The Furniture Scratches: A family in Asoke was charged ฿15,000 for “scratches on dining table.” They hadn’t caused the scratches. They’d barely used the table. But their only move-in photos were of the bedrooms and bathrooms. The living area wasn’t documented.
Each of these situations was preventable with proper documentation.
Your Deposit Protection Checklist
Move-In:
- Photograph every room from multiple angles
- Video walkthrough testing all appliances
- Document every existing defect, no matter how small
- Email documentation to yourself (timestamp)
- Share key photos with landlord via messenger (shared record)
- Sign condition report (request one if not provided)
During Tenancy:
- Report all maintenance issues in writing with photos
- Keep records of landlord/management responses
- Document any incidents or damage that occurs
Move-Out:
- Request joint inspection
- Photograph everything again (comparison shots)
- Clean thoroughly (keep receipt if hiring cleaners)
- Get proposed deductions in writing
- Dispute unfair charges with evidence
The Bottom Line
Thailand’s rental market operates on different rules than you’re used to. There’s no deposit protection scheme catching you if documentation fails. The system isn’t designed to harm you — it’s just designed without the safeguards you might expect.
Protecting your deposit is your responsibility. Document obsessively at move-in. Keep records throughout your stay. Negotiate from evidence at move-out.
The expats who get their deposits back aren’t luckier. They’re more prepared.
Ready to strengthen your move-in documentation?
Download our free Deposit Protection Template, a bilingual condition report checklist designed for Bangkok rentals. It covers every room, appliance, and common defect type, formatted to align with Thailand’s 2025 jointly-signed condition report requirements.
Or, if you want professional documentation before you sign, book a Bangkok Inspect move-in inspection. We find the problems, and document them, so you don’t lose your deposit to someone else’s damage.
Bangkok Inspect provides independent property condition documentation to support your rental process. Our reports are designed to supplement (not replace) the jointly-signed condition report required between tenant and landlord under Thailand’s 2025 residential leasing regulations (for landlords with 3+ units). Bangkok Inspect is not a licensed property surveyor or legal advisor. For legal matters, consult a qualified Thai attorney.